When you are switching from Slack to Microsoft Teams it is often required to transfer Slack data to Teams, or at least to provide a convenient way to access Slack message and file history in Teams without having access to the original Slack workspace.
In this article I’m going to show several alternative ways to access your original Slack workspace history if you are switching to Teams.
Table of contents
- Method 1. Share export archive among users
- Method 2. Host a static website with a history
- Method 3. Show message history in a channel tab
- Method 4. Import Slack history to Teams
Consider using methods 1, 2 or 3 if you do not plan to directly import messages & files into the Teams channels. These methods allows you to keep Slack message history available without transferring messages & files into the corresponding Teams conversations.
Consider using method 4 if you need to transfer Slack messages & files into the corresponding Teams conversations. In other words, the messages & files will be recreated in the Teams as if you were using Teams instead of Slack previously.
Method 1. Share export archive among users ⚓︎
Let’s assume that your Slack workspace data was exported in the Comfortable HTML format (you can do this using Backupery for Slack or you can use Backupery for Slack Export to convert your JSON export to HTML). Basically, the Comfortable HTML export is a folder (usually called HTML2) with interlinked HTML files and subfolders:
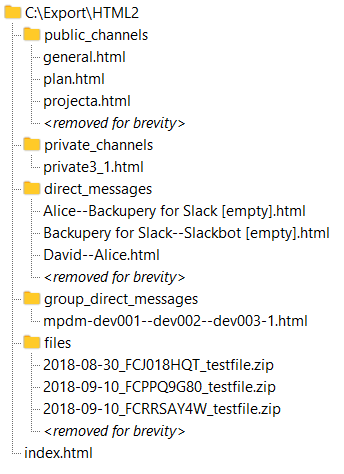
Note that the HTML export is self-contained, it means that it does not have any external dependencies. So you can move the HTML2 directory to any other location and the HTML files continue to work.
Submethod 1.1 Share whole workspace export among users
So let’s say we have exported everything we need from our source Slack workspace and we have the HTML2 directory that contains the exported data as on the screenshot above. To share the exported data, just zip the HTML2 directory and share among your users.
Submethod 1.2 Share single conversation (channel or DM) history
Let me show you another simple example. Let’s say we need to make the projectx channel history from Slack available on Teams. To do that you should export the projectx channel from Slack and convert it to HTML keeping the downloaded files in the same directory, so you will have the following structure in your destination folder:
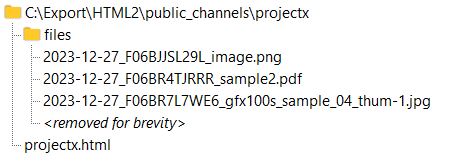
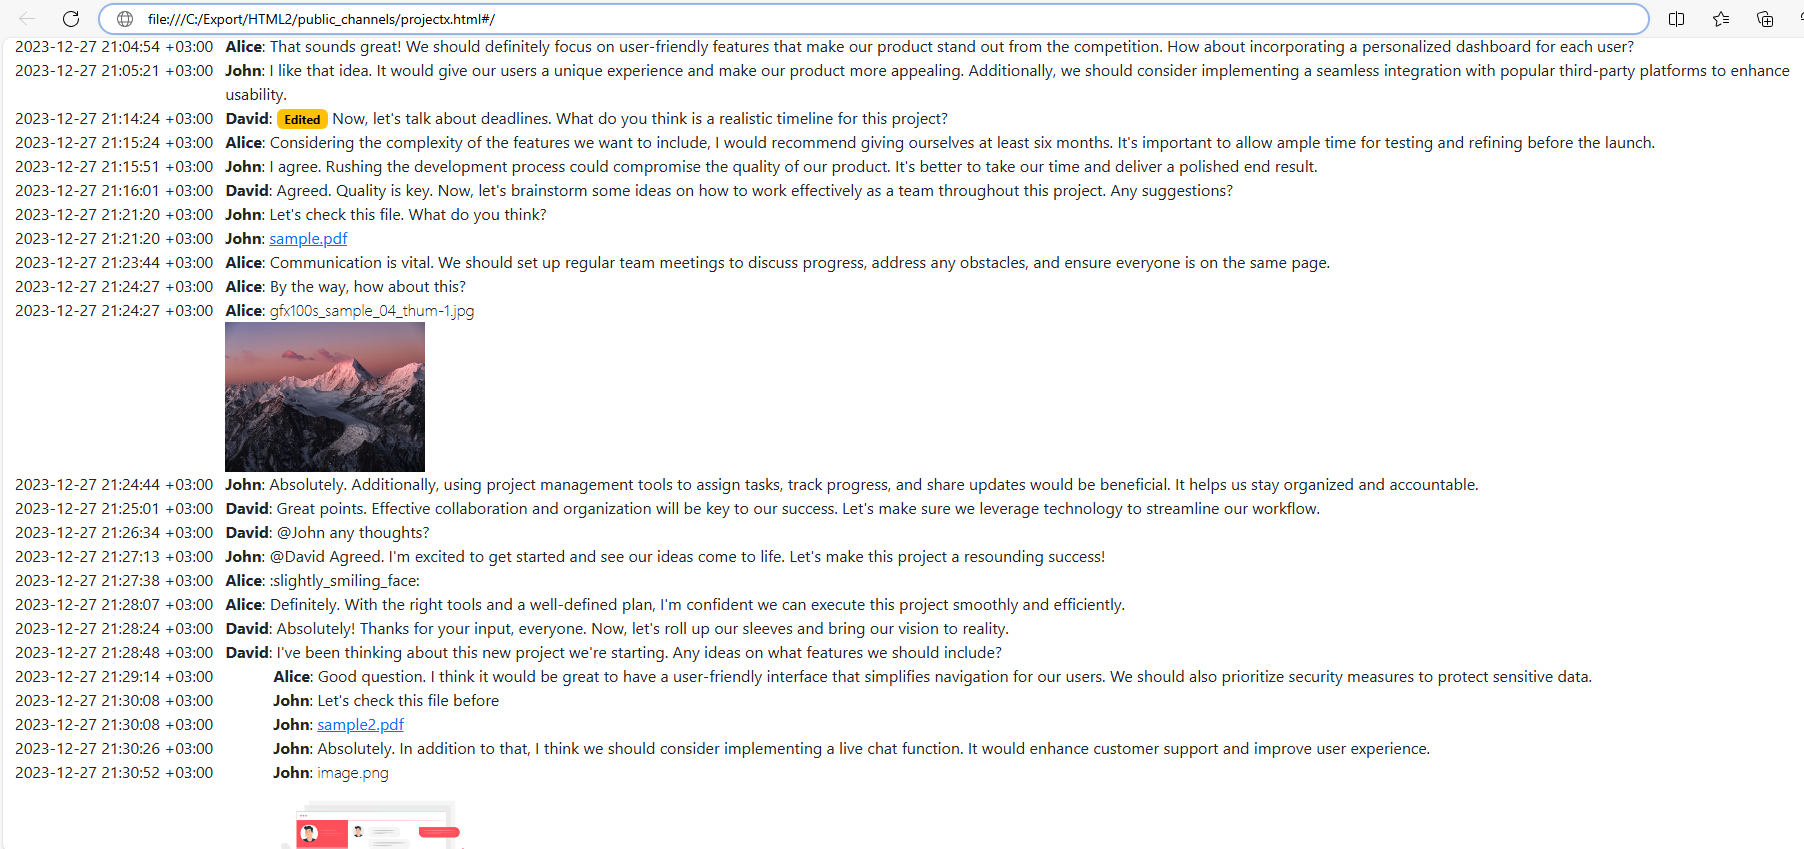
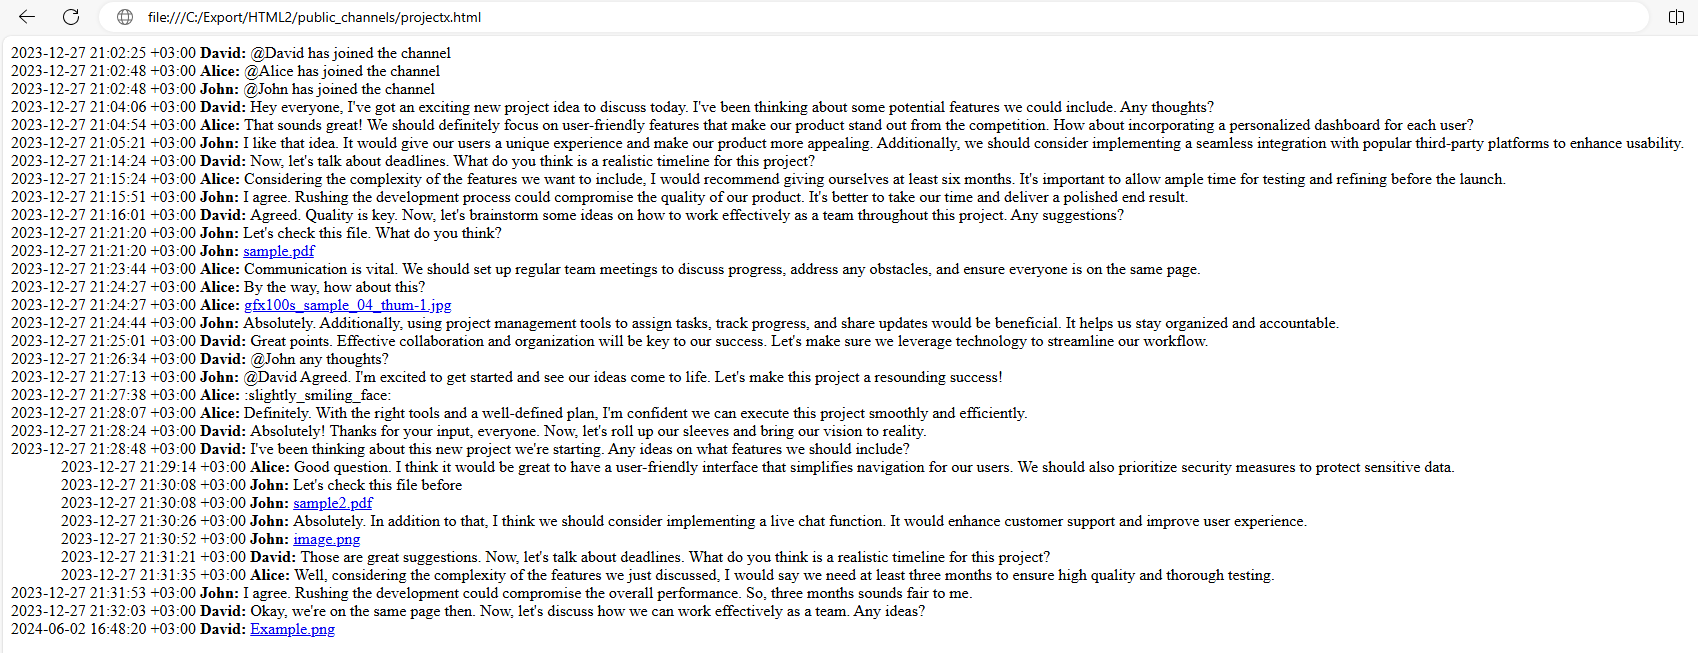
where the files directory is a directory that contains all the files shared in the projectx channel and projectx.html contains all the messages. Here is how projectx.html looks in a browser:
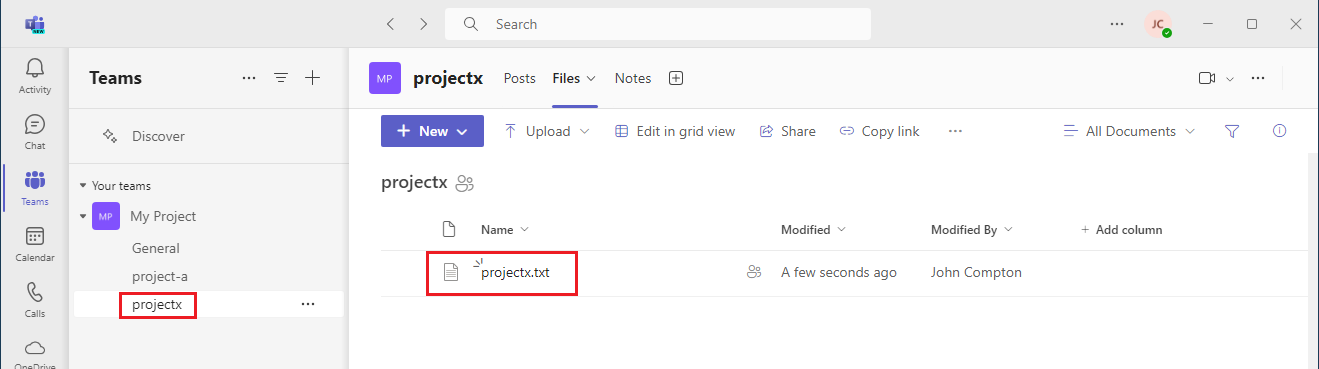
Now you can zip the projectx directory and upload it to the Files tab of your projectx on Teams so any user of the projectx channel on Teams will be able to download the message history:
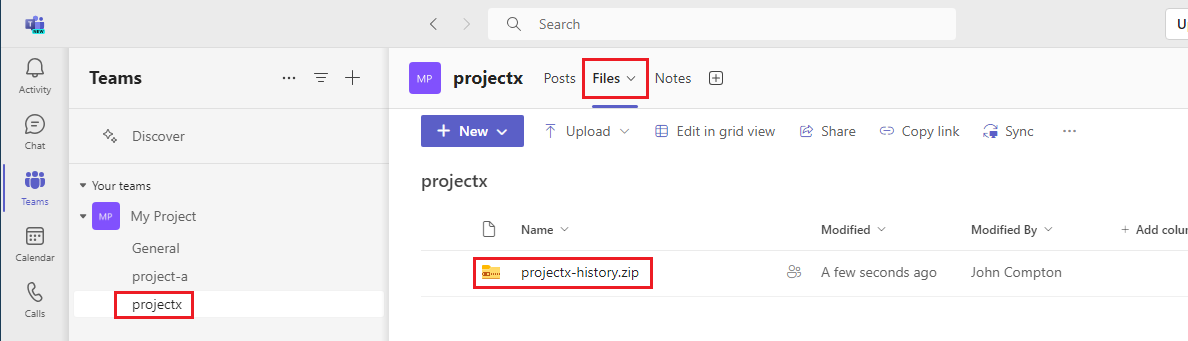
Again, as the export is self-contained, every user who downloads the projectx-history.zip will be able to view the data no matter where it will be viewed.
Submethod 1.3 Provide a personal conversation history for each user
Now let’s take a look at the more advanced scenario. What if we need to maintain access rights for different users, or, in other words, what if we need to provide different set of conversations for different users? For example, let’s say there are David, John and Peter in a source Slack workspace. David and John participate in a private channel private3_1 where Peter is not a member. Obviously, we don’t want Peter to be able to access the private3_1 channel history on Teams. So we can utilize the “Per User” option of export isolation settings and generate a copy of conversations for each user. So in our example three different exports will be generated, for each exact user:
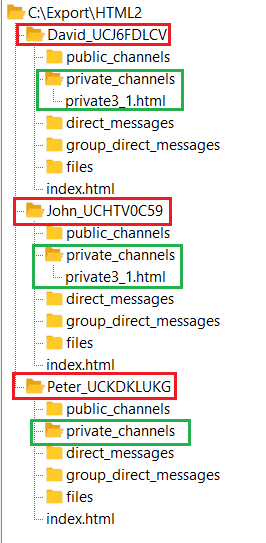
As you see on the screenshot above, the app generated three directories: David_UCJ6FDLCV, John_UCHTV0C59 and Peter_UCKDKLUKG. Each directory contains the history of conversations that are available for each exact member only. So David and John have the private3_1 channel history in their folders, but Peter doesn’t.
So again, you can zip the directories and provide each user with the exact copy of their Slack history.
Method 2. Host a static website with a history ⚓︎
One of the features of a self-contained export is that it may work as a static website. It means that if you share the folder through a web server, you can access the data using a web browser from any point where the web server is available. You can check this article for more details.
Method 3. Show message history in a channel tab ⚓︎
Despite certain advantages, the methods presented above definitely have some disadvantages. The main disadvantage is that they require context switching between Teams and other tools. What if we want to be able to read the messages history directly in Teams without being required to switch to other tools? Here is a quick solution. Again, let me show how it works on a quick example. Assume we need to move our projectx channel history from Slack to Teams and make the history available directly in Teams. Here are the steps to do that:
1. Export the projectx channel and convert it to Comfortable HTML having the Generate HTML without Javascript option checked:
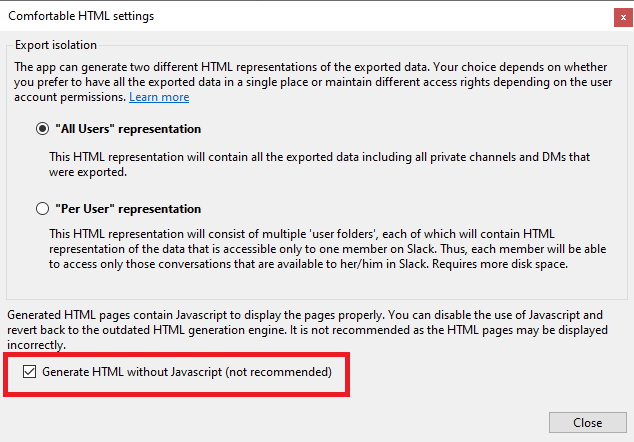
This option allows us to generate super-simple HTML code that can be easily converted to plain text. Here is an example of the generated HTML for the sample channel:
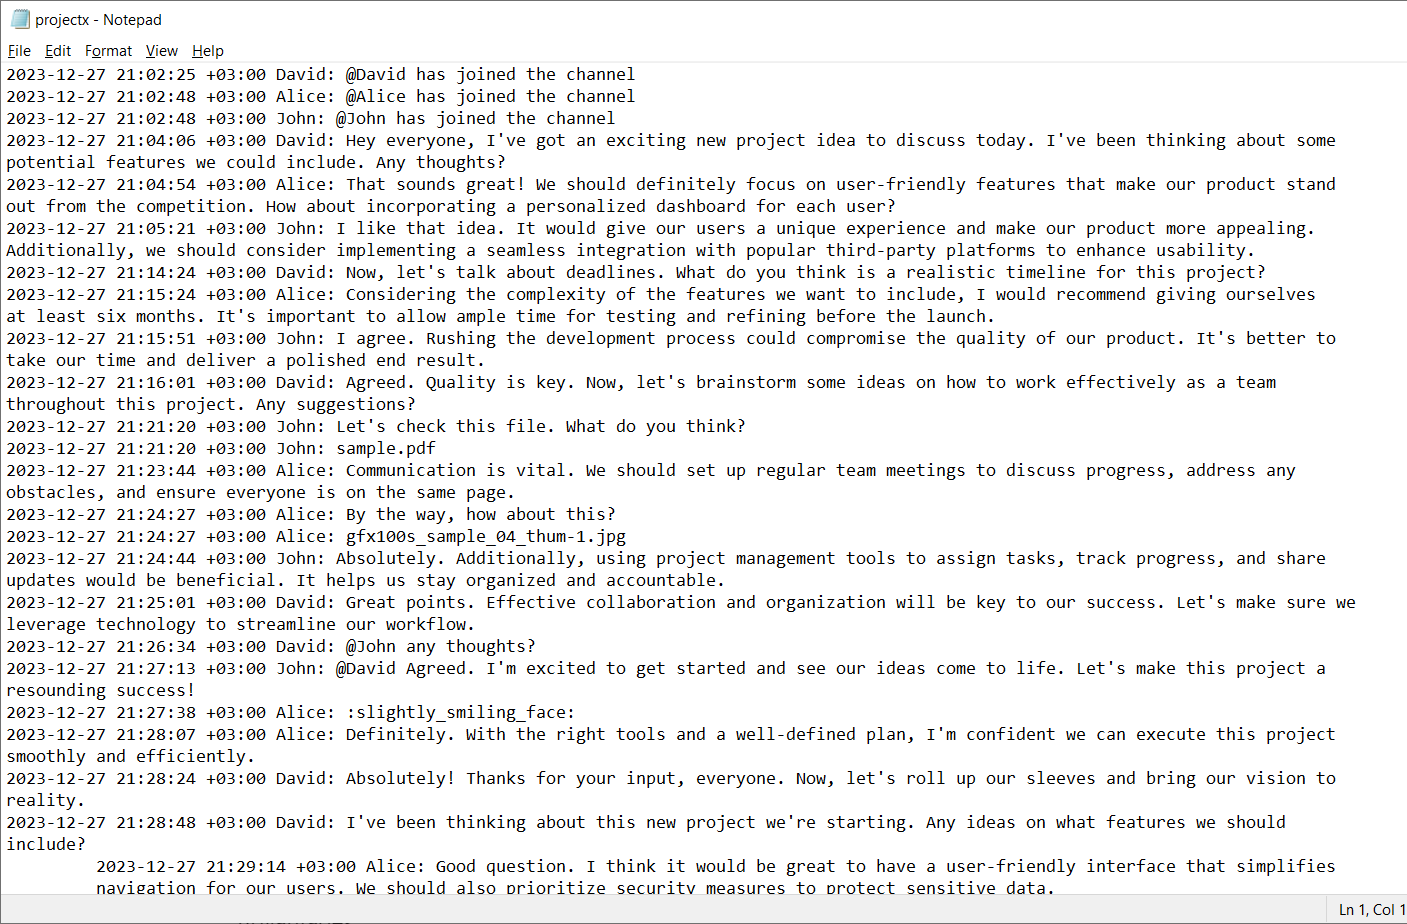
2. Convert the generated projectx.html to plain text using any html to text converter. I used https://convertio.co/html-txt/ for this but there are virtually tons of the converters available online and offline. So here is how my projectx.txt looks:
3. Upload the projectx.txt file to the Files tab on Teams:
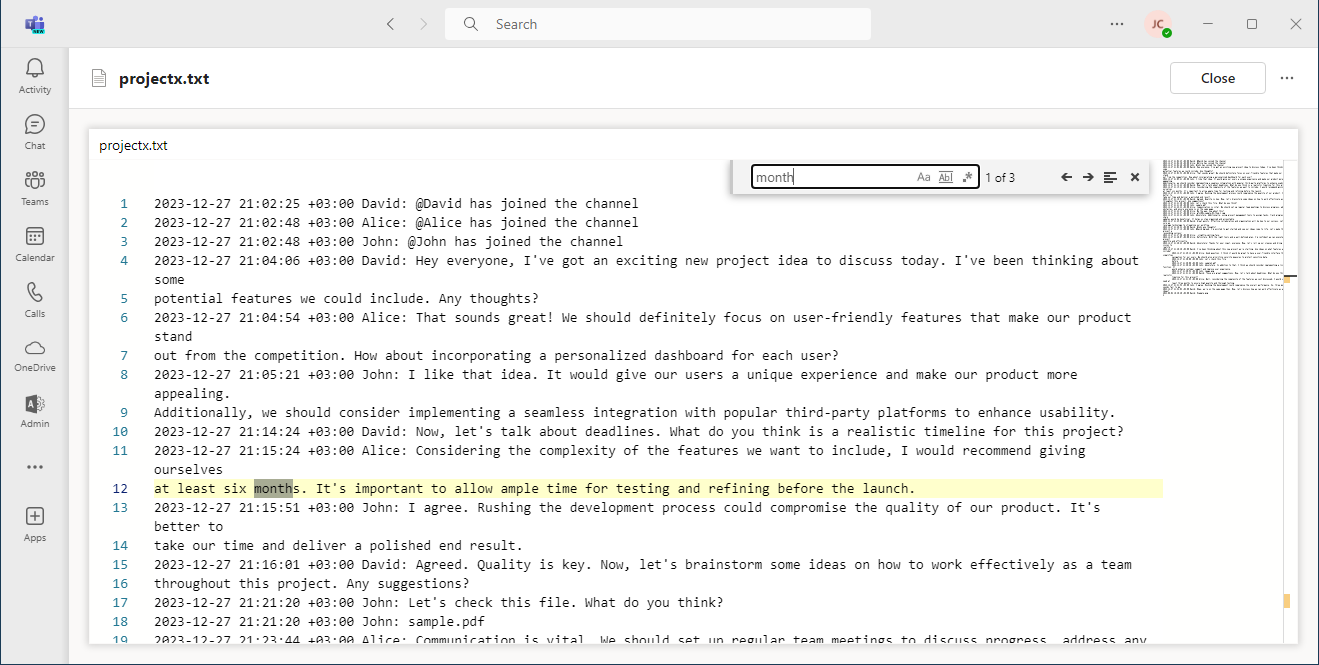
If you click the projectx.txt on Teams, it will open the text viewer directly in Teams with the ability to search in the file so the users will be able to browse the channel history directly in Teams:
This method to keep channel history has the following advantages:
- Message history is located directly in Teams
- Message history search is available
Of course, there are the following disadvantages:
- The history works for messages only, no file history are available
- The plain text history may be difficult to read under some circumstances
Method 4. Import Slack history to Teams ⚓︎
The main disadvantage of the methods 1-3 presented above is pretty obvious – we do not recreate messages & files in Teams, we just provide ways to access them from Teams. But what if we want to migrate our messages & files to a Teams instance? For example, what if we want to move the following channel messages & files from Slack to Teams so this:
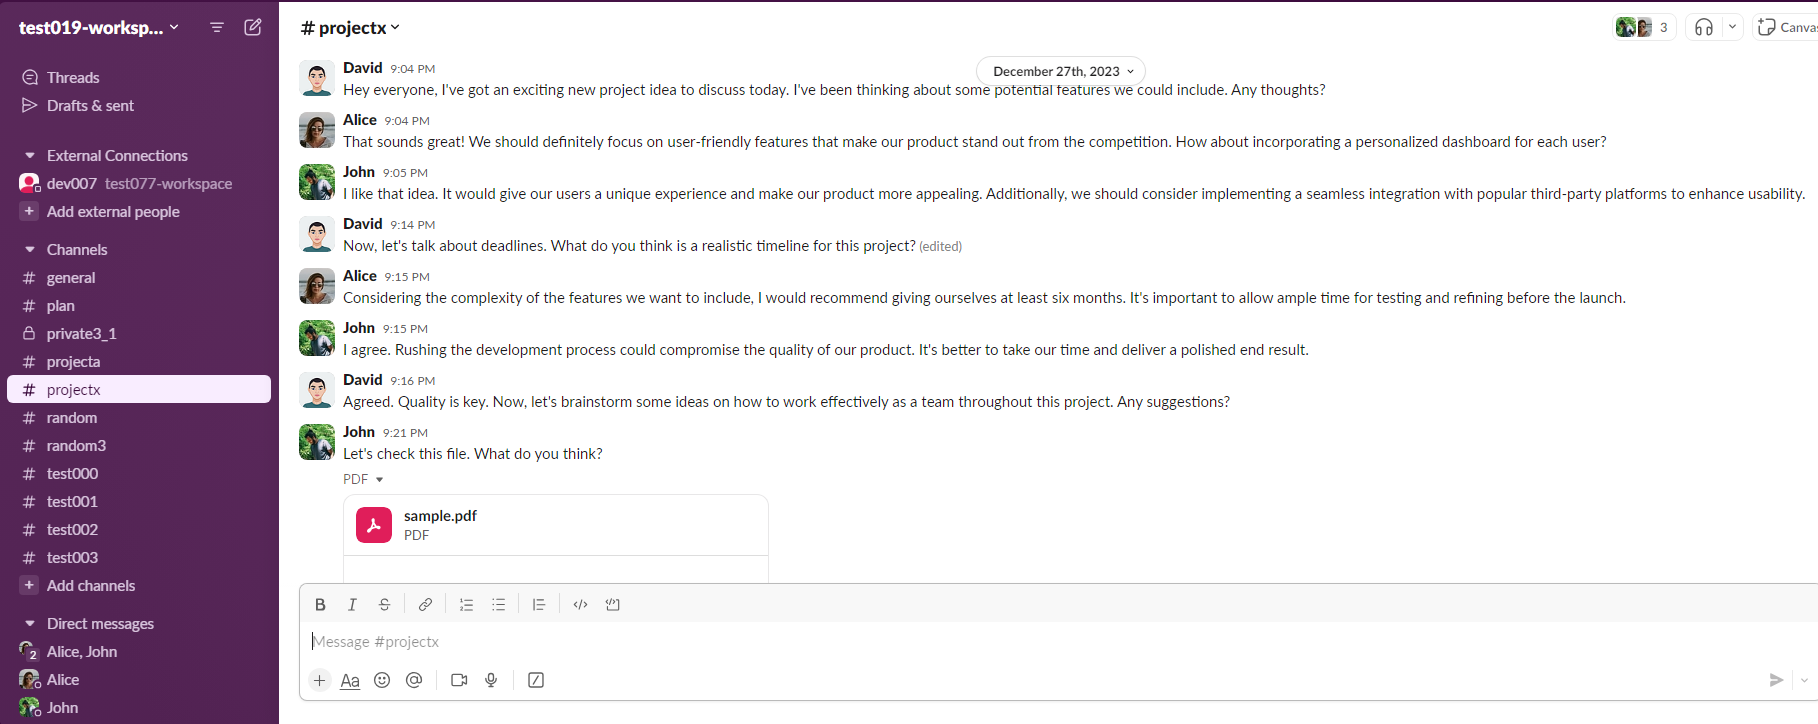
becomes this:
as if you were using Teams instead of Slack from the beginning?
There are two possible ways to do that:
- Let’s say you have a Slack workspace exported using the embedded Slack export tool. The tool produces a ZIP archive with a bunch of JSON files that contain message history and file links. In this case, you can use the Backupery for Slack Export application to import the desired channel messages to Teams using the ZIP archive as messages & files source. Click here to learn more about this way.
- If you don’t have the data exported from Slack yet, and you want to export & import it to Teams at once, you may consider using the Backupery for Slack application. It will export the desired channels from Slack and then import them to Teams. Click here to learn more about this way.
Please note, both ways have the following limitations at this moment:
- Public channels only are transferred
- Files are not transferred
- Top-level messages only are transferred so that means that thread replies are not transferred
Let me show you how both methods work.
Submethod 4.1 Import Slack history to Teams using Slack export archive as a source ⚓︎
So let’s import a Slack export ZIP file to Teams.
1. Download and install the Backupery for Slack Export tool.
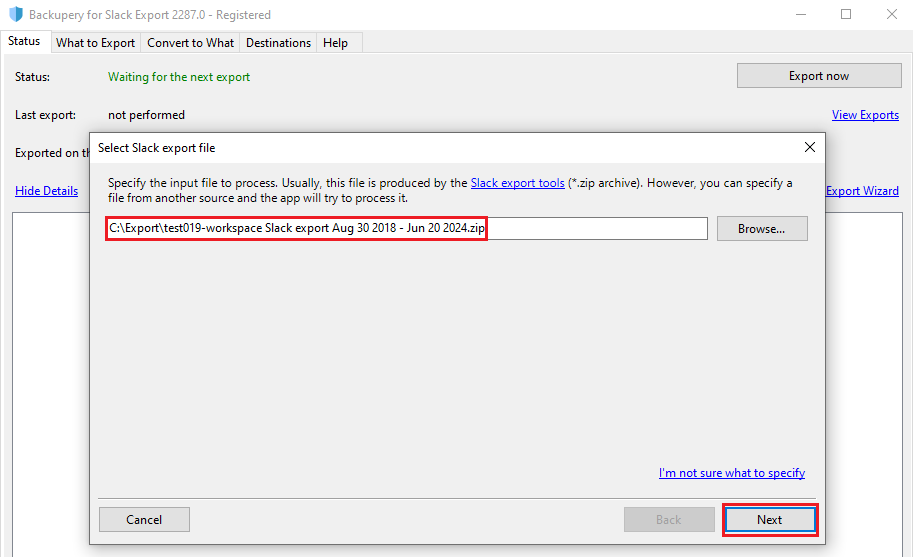
2. Follow the processing wizard, select the ZIP file that contains exported data and click Next:
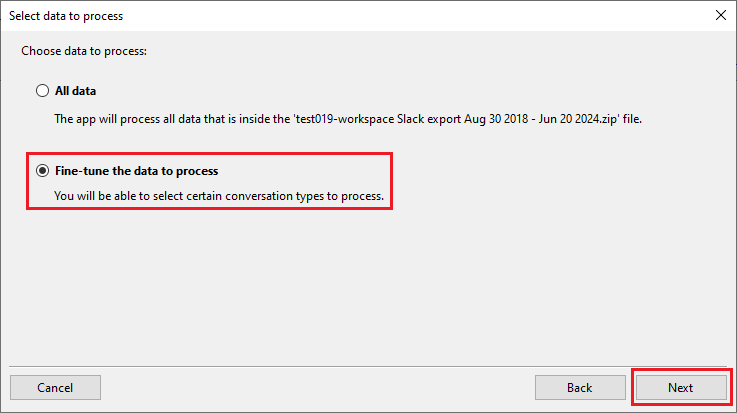
3. If you are going to import all conversations that are inside the archive, select the All data option. In our example we want to import a single channel called projectx so we will select the Fine-tune the data to process option and click Next:
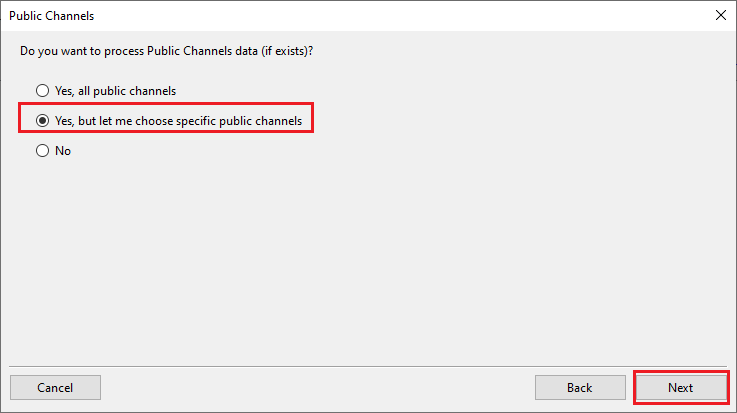
4. As the projectx channel is public, select Yes, but let me choose specific public channels and click Next:
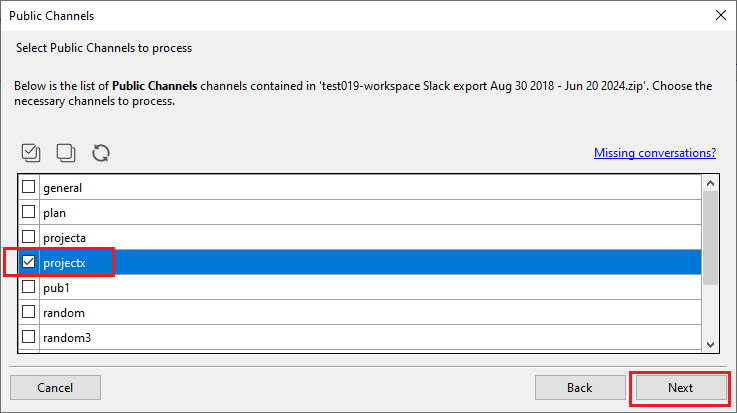
5. Now select the channel you need to import and click Next:
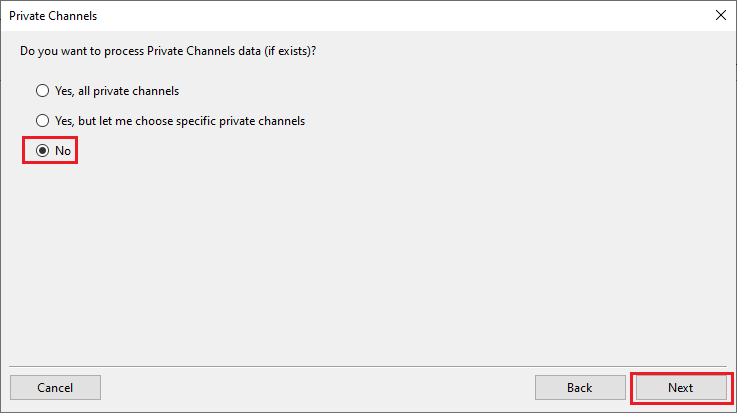
6. Select No when the wizard asks for processing Private Channels, Direct Messages and Group Direct Messages as we don’t need to import them and click Next:
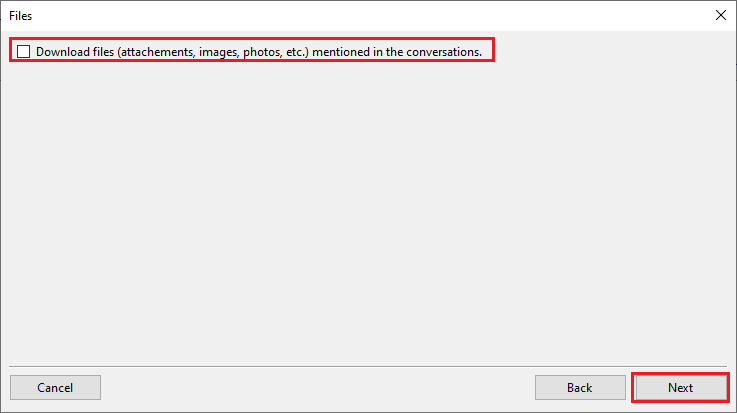
7. On the Files setup step uncheck the Download files option as at this moment the app is not able to import files to Teams so we don’t need to download them as well:
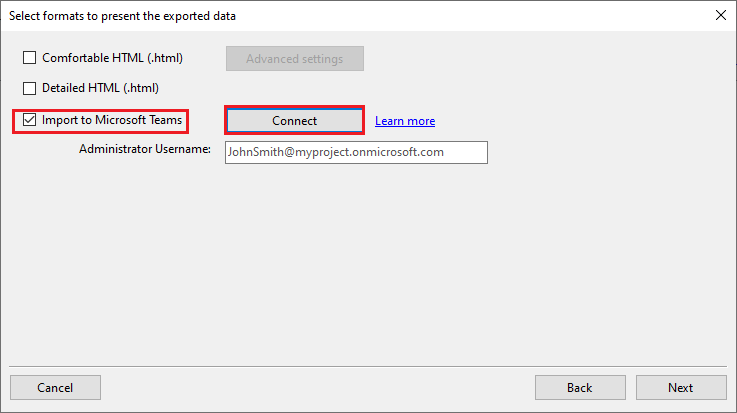
8. On the next step check the Import to Microsoft Teams option and click the Connect button:
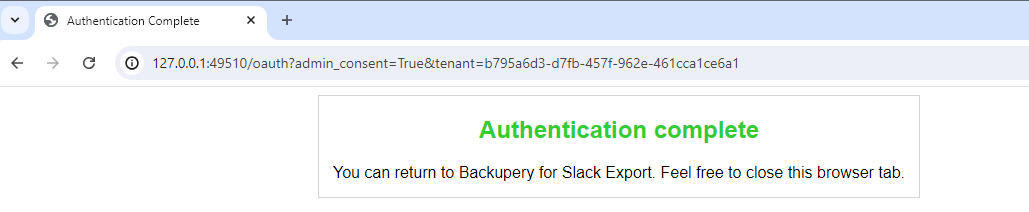
After clicking the Connect button the app will open a web browser and request administrator consent to install the Backupery Slack-to-Teams app to your Microsoft tenant. The app will be used to upload the data from your local Backupery for Slack Export app to your Teams:
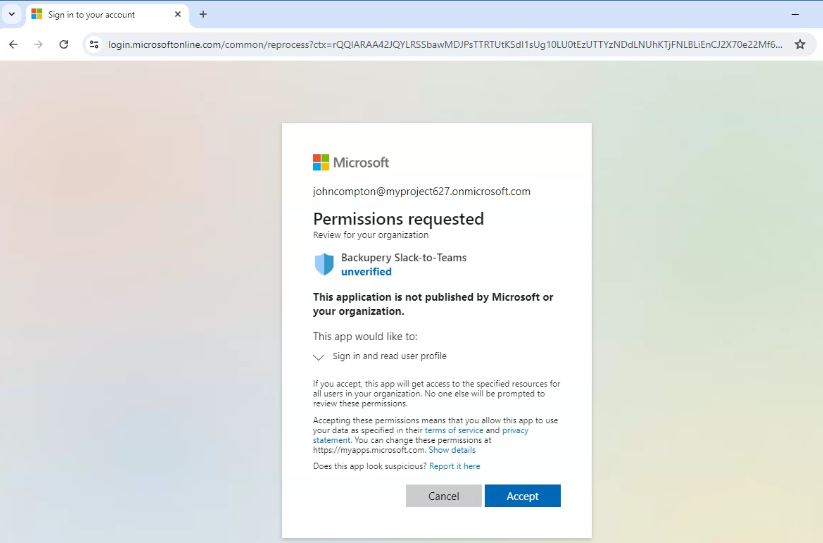
Click the Accept button to add the app to your tenant. Once added, you will see the following success message:
9. Once the Backupery Slack-to-Teams app installed to your tenant, you need to provide Administrator Username for your tenant and click Next:
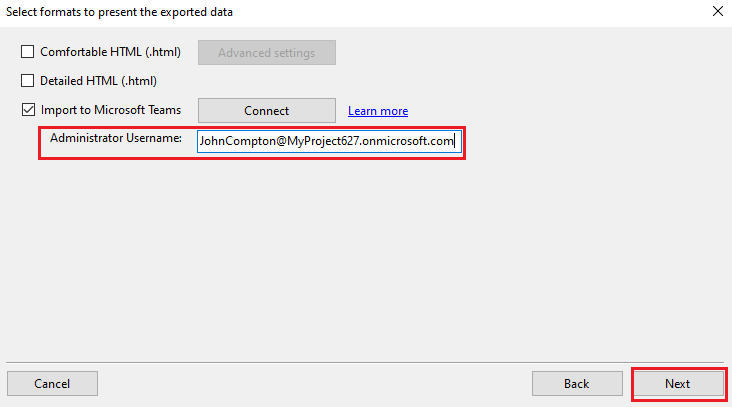
The app will import messages to Teams on behalf of this user, so the Administrator Username must be valid.
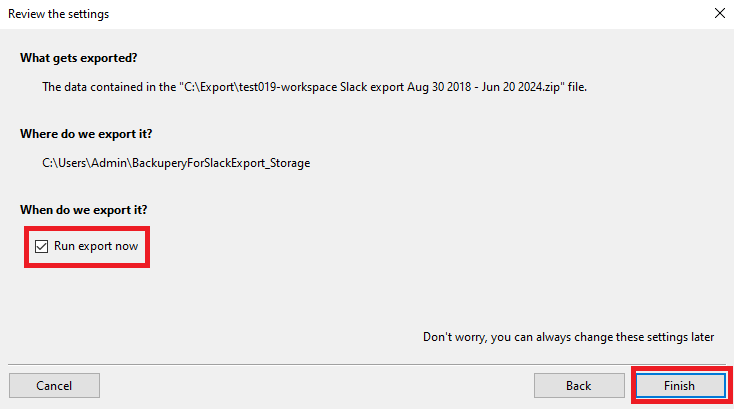
10. Complete the wizard and start the processing:
You can track the import progress in the details window:
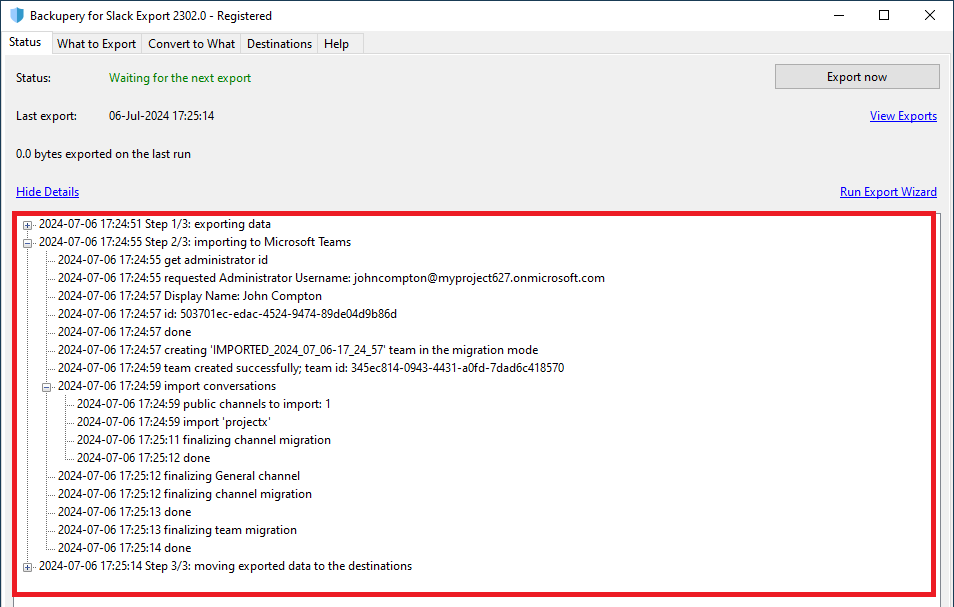
Here is what the app does during the import process:
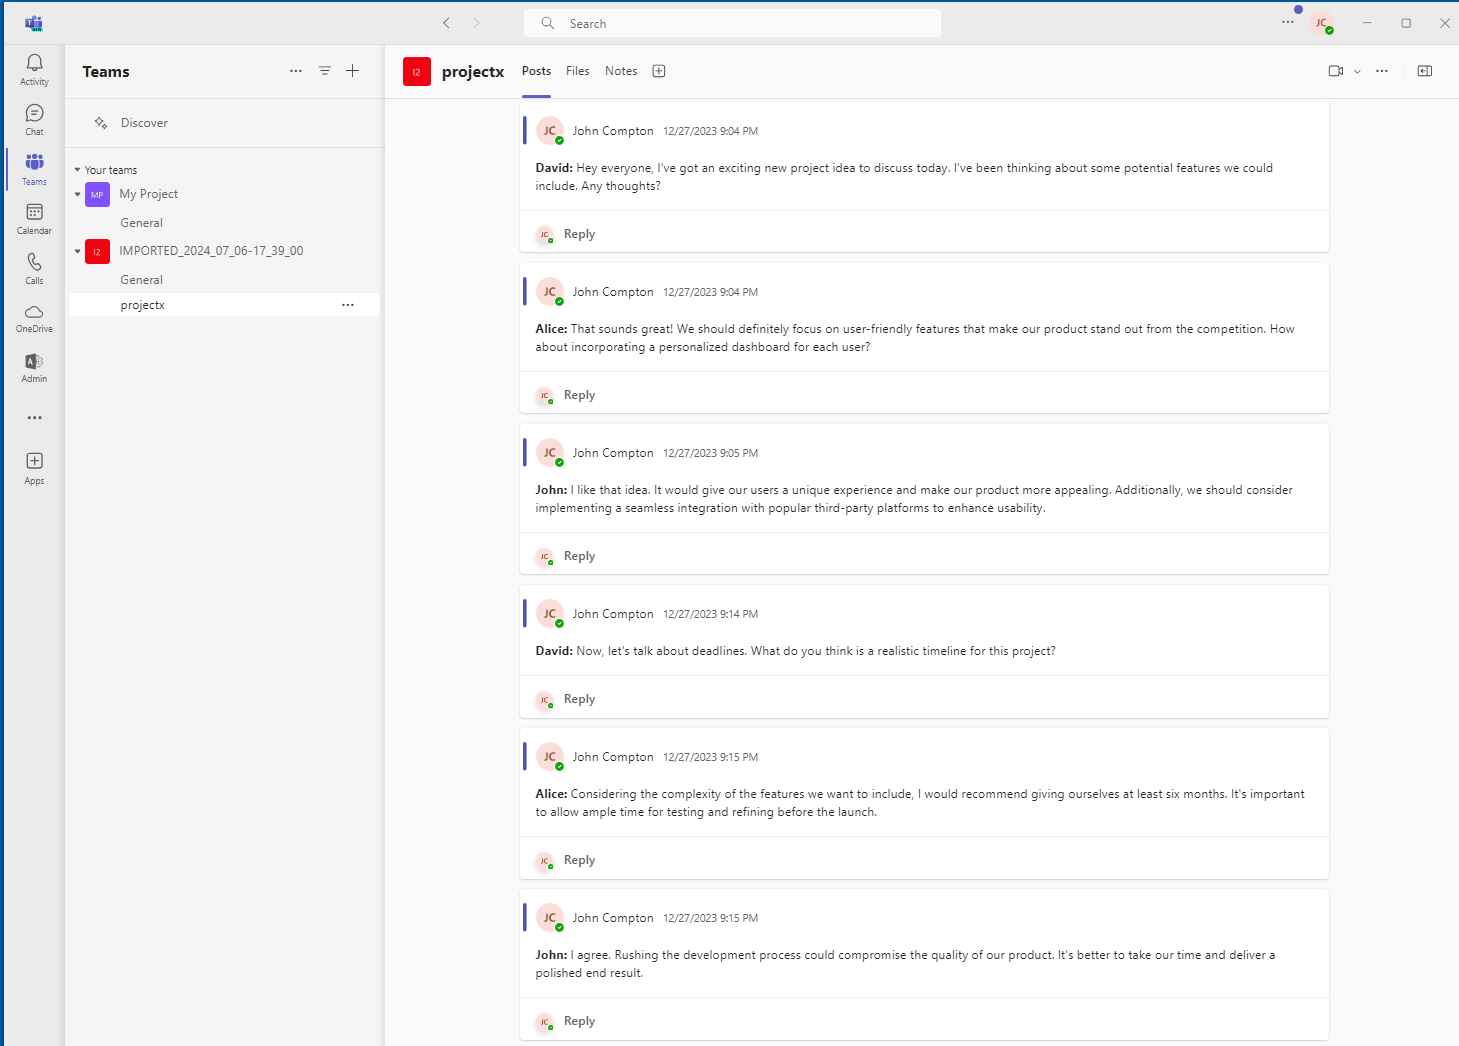
- Create a new team called “IMPORTED_<timestamp>” in your Microsoft 365 environment, where timestamp is a date and time of the import, for example “IMPORTED_2024_07_05-14_03_33“.
- Create a list of standard channels that you selected to import. The names of newly created standard channels are the same as in the source Slack workspace.
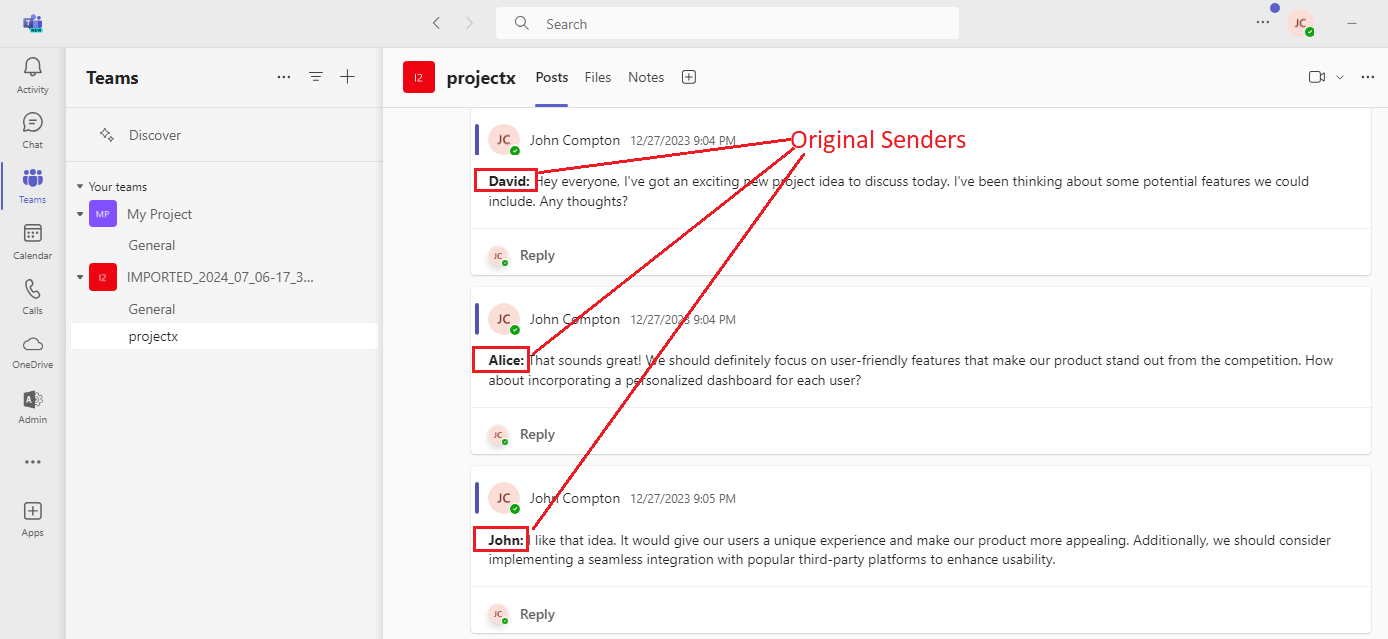
- Import messages to each of the newly created standard channels. The messages are imported on behalf of the Administrator account which you specified in the settings, however the sender information is preserved. In other words, an each imported message contains the sender name despite messages being imported on behalf of the Administrator account (John Compton in our example):
Submethod 4.2 Import Slack history to Teams using direct export from Slack ⚓︎
So let’s export a channel from Slack and import it to Microsoft Teams.
1. Download and install the Backupery for Slack tool.
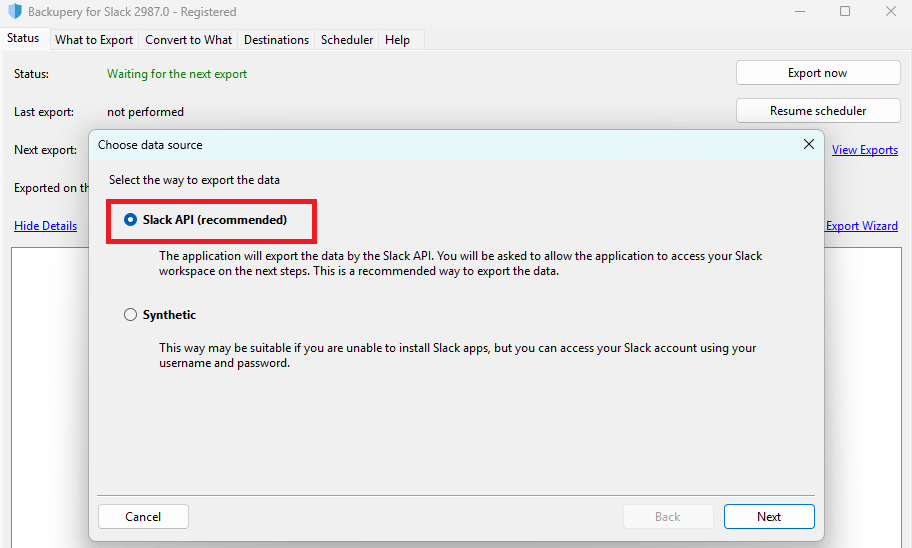
2. Follow the processing wizard and choose the appropriate way to export the data from Slack. If you are not sure, leave the Slack API option selected:
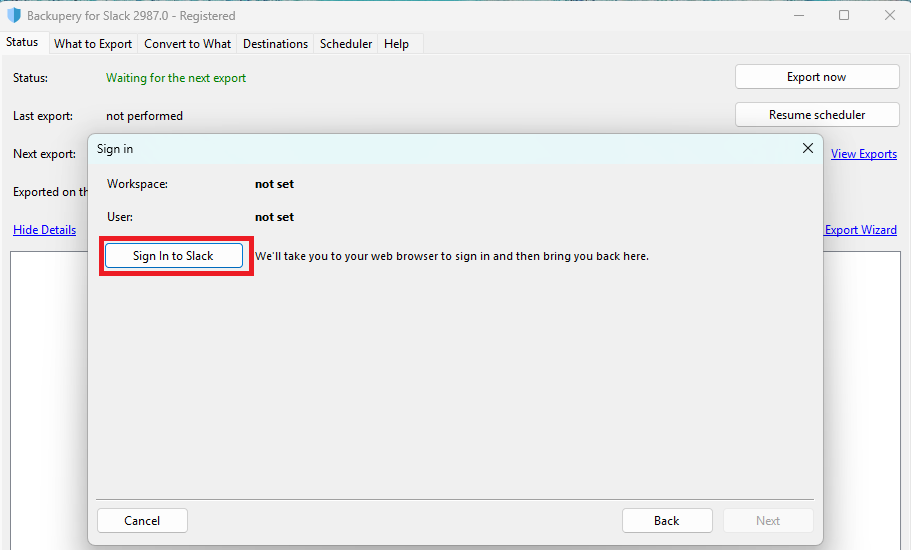
3. On the next step, press the Sign In to Slack button to sign in to the workspace you need to export the data from. You can sign in to Enterprise Grid as well:
4. The next steps are almost identical to the steps 3 – 10 of Submethod 4.1 Import Slack history to Teams using Slack export archive as a source so click here to navigate to the next step.
So, in this post we’ve reviewed the possible ways to use your Slack history after moving to Teams. As always, please let us know if you have any questions, ideas or need any assistance, we’re Listening!